Custom Shower Remodeling – Tile Showers, Glass Enclosures & Wall Systems
Get A Free Quote
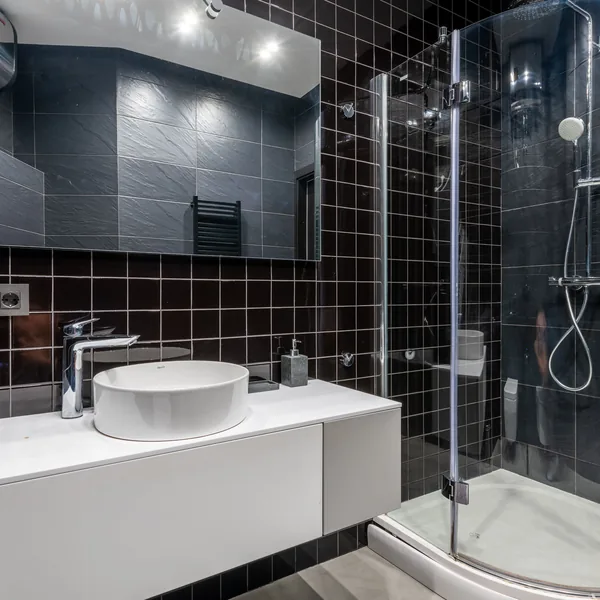
Findlay Quality Kitchen & Bathroom Remodeling has provided custom shower remodeling in Findlay, OH, for more than 15 years. Recurring grout mold or a worn fiberglass surround can make the shower difficult to maintain. We build custom tile showers and grout-free wall-panel systems, including solid-surface panels that eliminate grout joints. Our work can also include shower enclosures and glass doors, new pans and drains, valve and showerhead upgrades, shower enlargement, and tub-to-shower conversions.
Our waterproofing membranes meet ANSI A118.10, the standard for bonded waterproof membranes beneath tile. Shower floors are built with at least a quarter inch of slope per foot toward the drain to prevent pooling, and every glass enclosure uses tempered safety glass.
Fixture options include Kohler, Delta, Moen, and American Standard. We match each trim package to its rough-in valve so the controls and visible hardware work together. Wall-system products carry lifetime manufacturer warranties, and many standard shower replacements within the existing footprint can be completed in one day. We are licensed and insured.
We serve homeowners in Fostoria, Tiffin, and Bucyrus, along with communities throughout Hancock County and Northwest and North-Central Ohio. Before construction begins, we explain the material, glass, and fixture options so you know what is being installed and how the finished shower will perform.
Custom Shower Remodeling Options: Tile or Grout-Free Panels
The right custom shower surface depends on whether you value greater design flexibility or a faster installation with simpler routine cleaning. Tile is set on site and gives you more control over the shower’s shape and finish. A grout-free wall system fits the existing shower footprint, reduces installation time, and requires less routine cleaning. We also build walk-in and curbless showers as a separate service.
Fully Tiled Custom Showers, Built to the Space
An unusual alcove or a particular design can make standard shower components too limiting. A custom tile shower gives you control over the dimensions and finishes, so we form a site-built shower pan for the available space rather than limiting your tiled shower installation to a stock base. Your finish choices can include coordinated tile across the floor and walls, a tiled ceiling, or different formats that define each surface. A recessed niche keeps bottles within the wall, while a built-in bench becomes part of the framing instead of an attached accessory. The separate pan-and-membrane assembly keeps the finished shower watertight.
Grout-Free Wall Systems & One-Day Replacements
When faster installation and simpler cleaning matter most, solid-surface wall panels, acrylic shower systems, and laminate wall panels provide a practical alternative to tile. We fit the grout-free panels over a new base to create a non-porous wall system that does not require periodic resealing and gives mold and stains fewer places to collect. Many standard projects qualify as a one-day replacement when the drain and shower footprint remain unchanged. Because the wall faces have no grout joints, routine cleaning usually takes only a soft cloth and nonabrasive cleaner. Grout-free wall systems offer fewer pattern choices than tile, but your shower is easier to maintain and returns to service sooner.
Shower Enclosure Installation: Framed, Frameless & Doorless
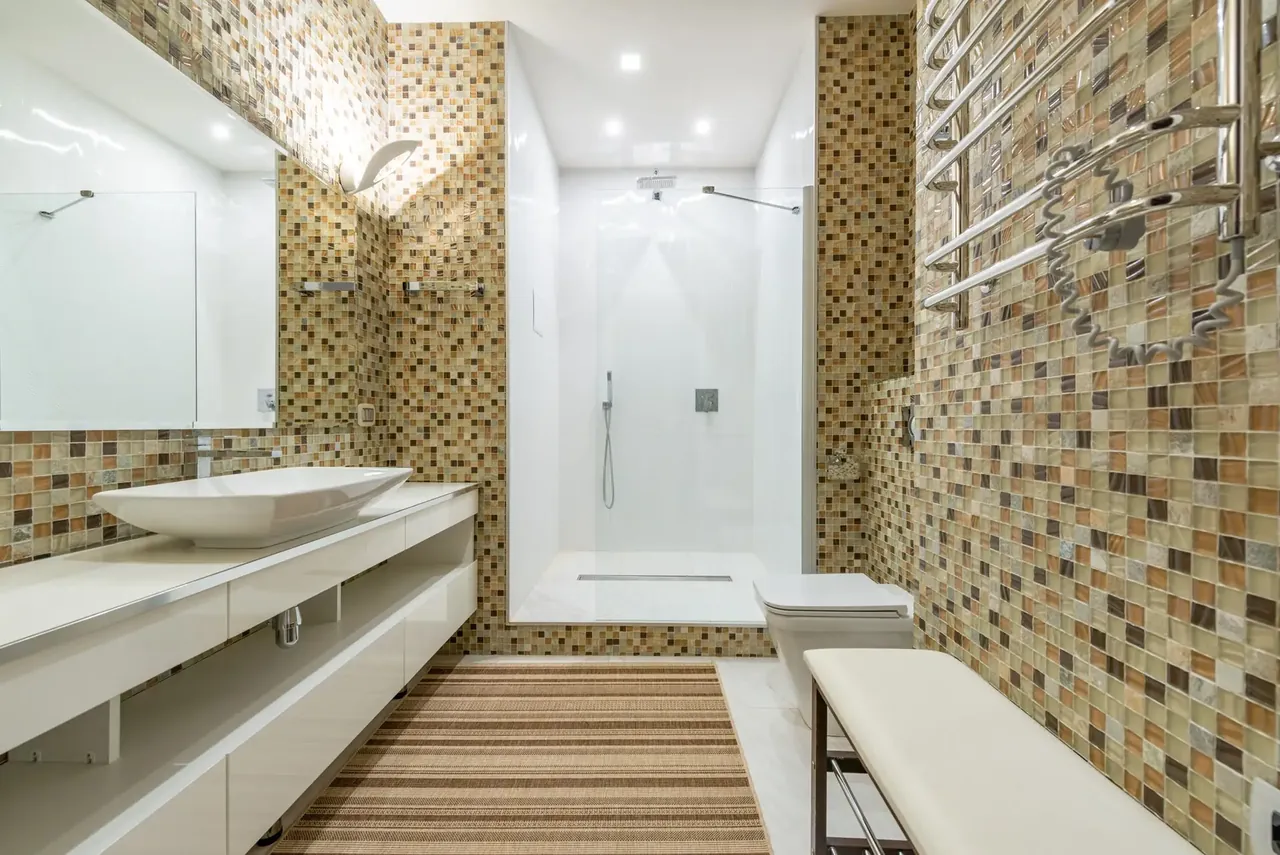
Your framed or frameless enclosure affects the room’s appearance, cleaning needs, and budget, and each glass shower door needs enough clearance to open properly. During shower enclosure installation, we wait until the tile or wall panels are complete and then template the glass to the finished opening rather than ordering it from rough dimensions.
What Separates the Three Glass Grades
The amount of metal around the glass helps determine which enclosure fits your preferred look and budget. An aluminum-framed enclosure typically uses glass about one-quarter inch thick and is the lowest-cost grade because the surrounding metal supports each panel. A semi-frameless enclosure keeps the framed perimeter but uses a frameless door panel, giving your shower a cleaner profile at a middle price point.
Frameless shower enclosures typically use three-eighths to one-half-inch tempered glass because the panels provide much of their own structural support. To keep the glass enclosure securely anchored, we fasten the pivot hinges to solid blocking behind the finished wall. With less metal around the glass, you also have fewer tracks, seams, and edges where soap residue can collect.
Doors, Screens & the Safety Glass Behind Them
The open space around your shower usually determines whether a pivot door, sliding doors, or a fixed screen will work best. If your bathroom has open floor area beside the shower, a pivot door can work well, provided its outward arc has enough swing clearance. Bypass sliding doors place two moving panels on a track and suit tub-width alcoves where a swinging shower door would crowd the room.
For a doorless shower, a fixed glass screen covers the wettest portion of the opening while leaving a walk-through entrance. Building code requires safety glazing when the bottom exposed edge of glass in or facing the shower is below 60 inches above the standing or walking surface. Tempered safety glass breaks into small, comparatively blunt pieces instead of sharp shards.
Shower Enlargement: Making a Small Shower Bigger
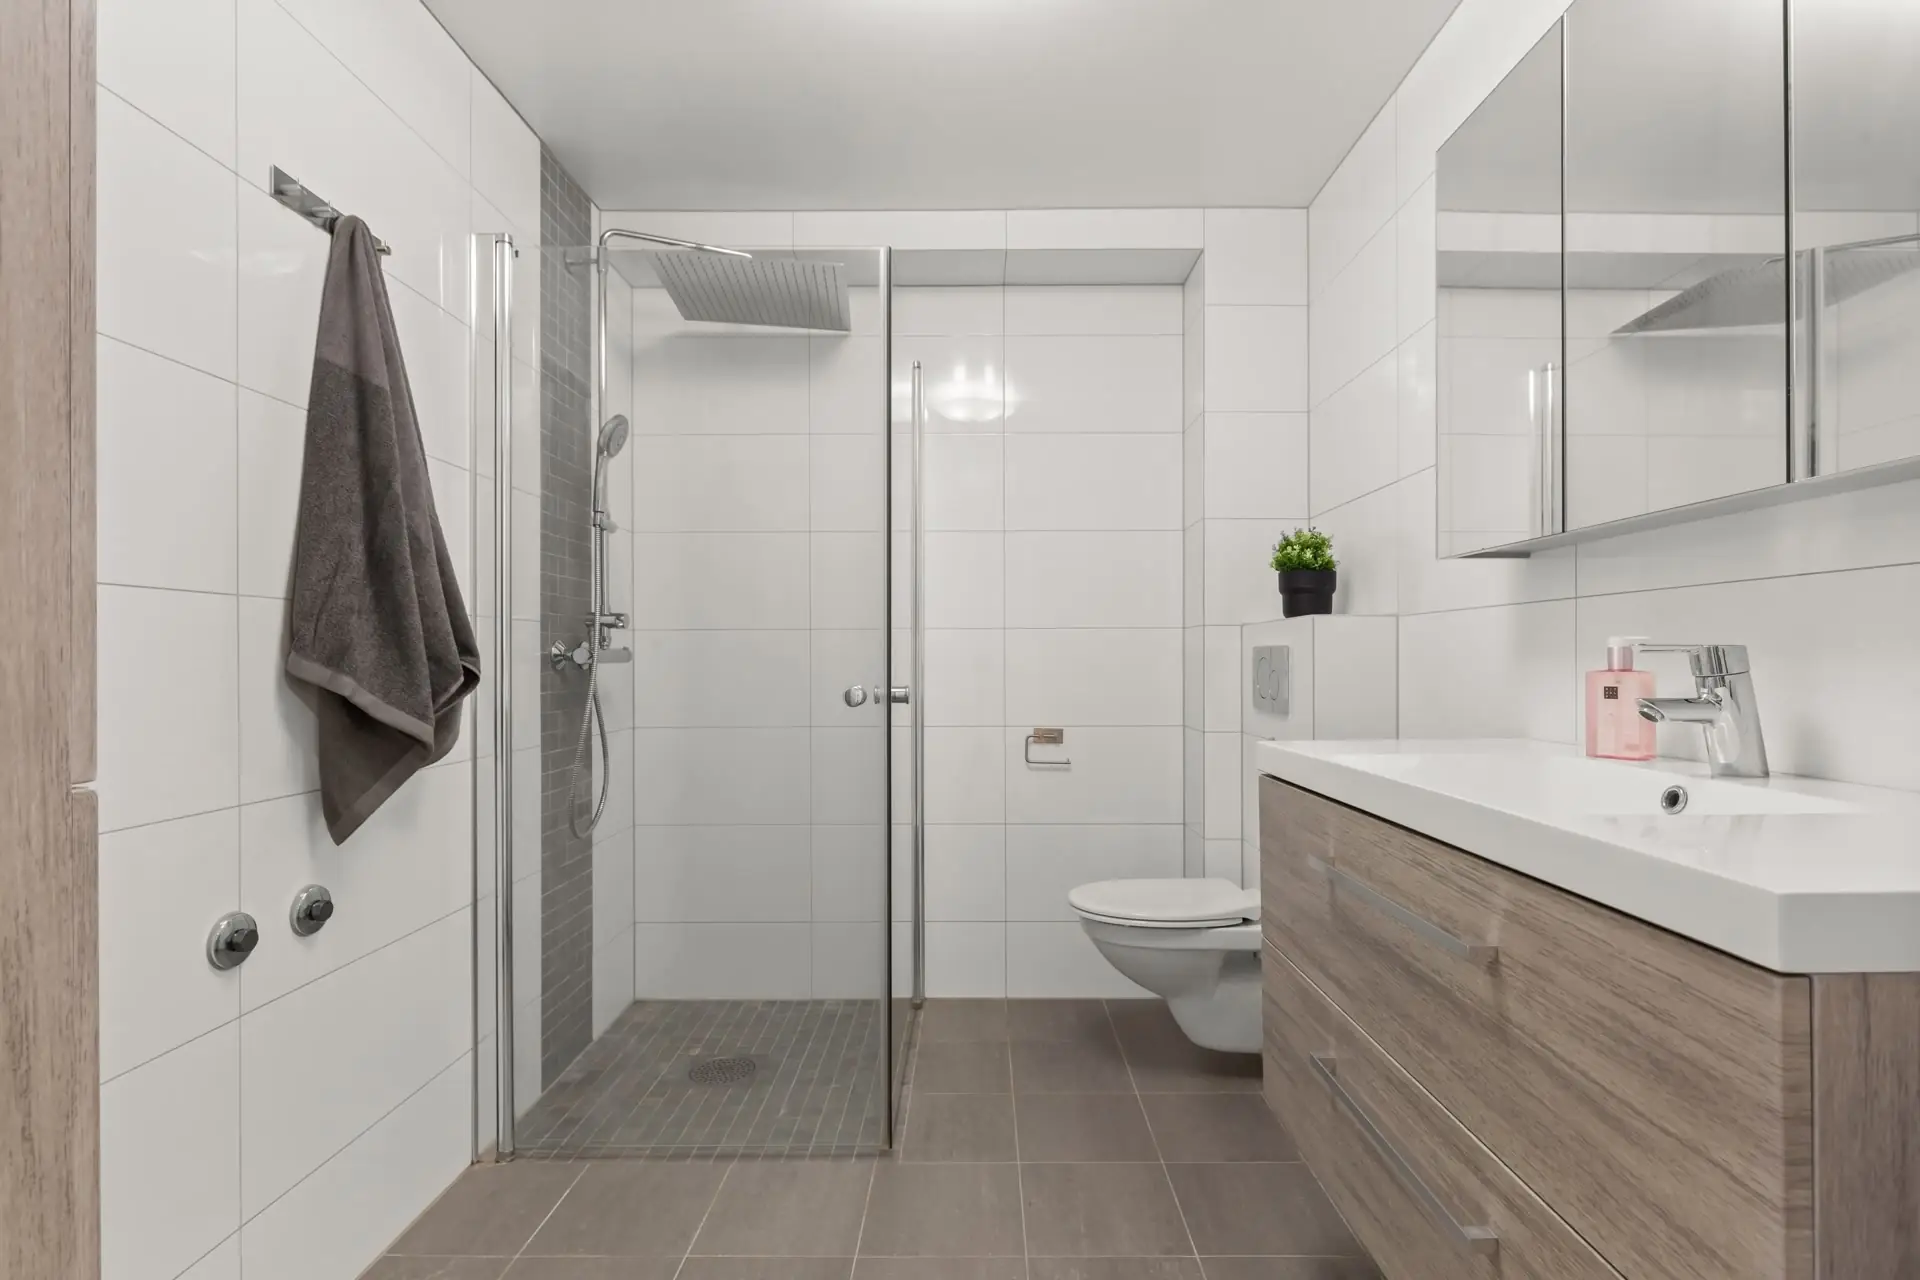
A small shower can feel cramped even when usable space sits just beyond the current curb or wall. We assess the room for shower enlargement, drain relocation, and the space needed for a 36-by-48-inch shower. If making a bigger shower requires rearranging the whole room, the project moves into bathroom-remodeling territory.
Where the Extra Space Comes From
The extra room for a shower enlargement usually comes from one of three places. An unused tub alcove may provide the needed space through our separate tub-to-shower conversion service. A closet or part of a vanity run on the other side of the wall can also add width. In some bathrooms, there is enough open floor area to move the curb line farther into the room.
When the shower footprint shifts, the drain line normally has to move with it. Drain relocation requires opening the subfloor, installing a new drain run, and reconnecting the plumbing below. Because the drain and valve both need to follow the new layout, moving them typically adds more to the enlargement cost than your tile selection does.
What Code Requires & What Actually Feels Roomy
A shower can meet the Ohio Residential Code and still feel cramped during daily use. The code requires at least 900 square inches of interior floor area, with no finished dimension narrower than 30 inches. A compartment may instead narrow to no less than 25 inches when it provides at least 1,300 square inches of interior floor area. The minimum space must remain available up to 70 inches above the drain, so built-in ledges and other projections cannot narrow the usable area below the required size.
Although a 30-by-30-inch stall can satisfy the code minimum, many homeowners find that a shower size of 36 by 48 inches is where movement begins to feel comfortable. Your elbows and normal turning motion provide the practical test, so we plan shower dimensions beyond the inspection threshold whenever the room allows it.
The Waterproofing Behind Custom Shower Remodeling
A tiled shower can look perfectly sound while a leak begins beneath the surface, usually at the shower pan or where the pan meets the wall. To protect the areas your eye cannot inspect, the walls receive the same cement backer board and waterproof membrane build used in our full bathroom remodels.
Building the Pan: Pre-Slope, Membrane & Curb
Before the finished shower floor goes down, the structure underneath must give any moisture that passes through the tile and mortar a path toward the drain. We first form a pre-slope beneath the waterproof layer, pitching the floor at least one-quarter inch per foot without exceeding one-half inch per foot. Depending on the drain assembly, the shower pan then receives a sheet membrane or a liquid-applied membrane qualified to the ANSI A118.10 waterproofing standard.
At a clamping drain, weep holes carry trapped water into the drain so it does not collect beneath your tile. Reinforcing membrane bands seal the corners, seams, and curb, where intersecting surfaces and movement commonly create leak points.
The Flood Test Before Any Tile Goes Down
You have your clearest opportunity to catch a pinhole before the tiled shower installation conceals the waterproof membrane and turns a localized repair into removal of the finished shower floor. After the waterproofing cures, we seal the drain with a test plug, fill the pan, and hold the water for about a day while checking for any drop in the water level. You can see the flood test before the tile installation begins.
When a shower uses large-format tile, a linear drain provides a long, narrow outlet along one edge. We form the floor as a single plane pitched toward the linear drain, allowing the larger pieces to lie on one consistent slope without the multiple cuts required around a centered drain.
Tile, Stone & Grout Choices That Hold Up in a Shower
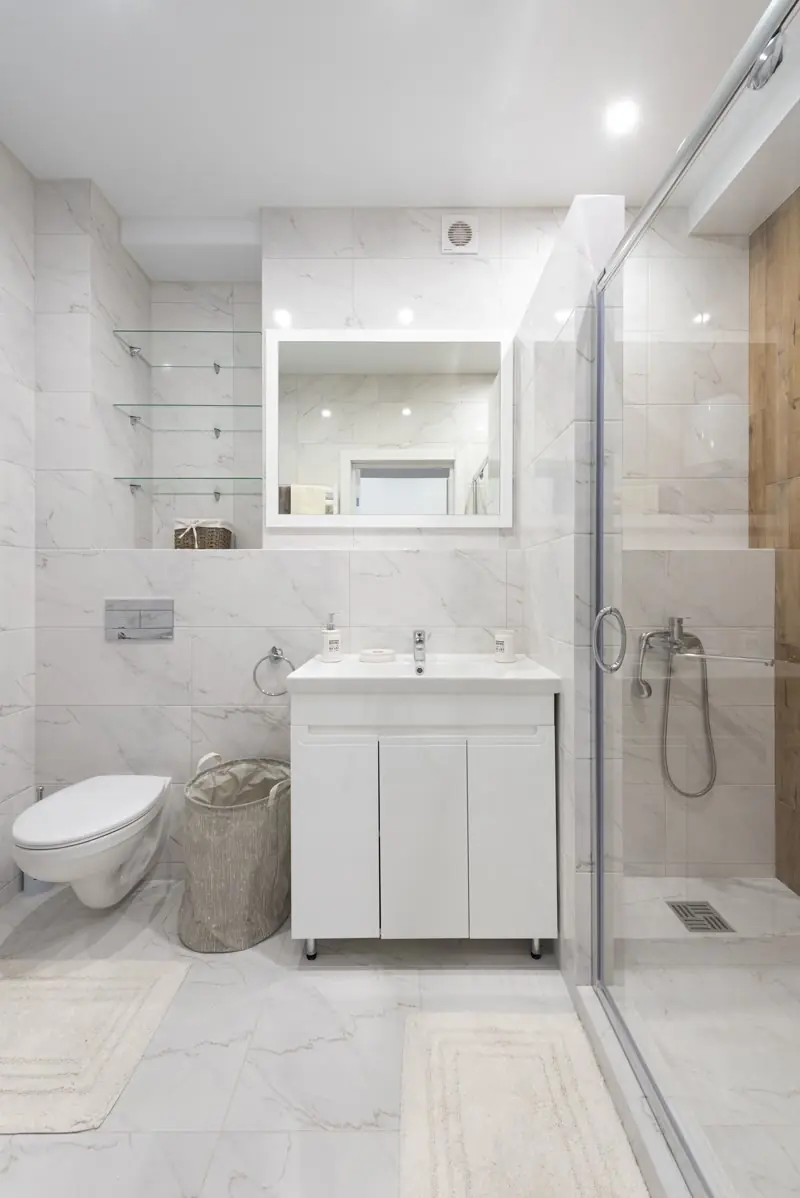
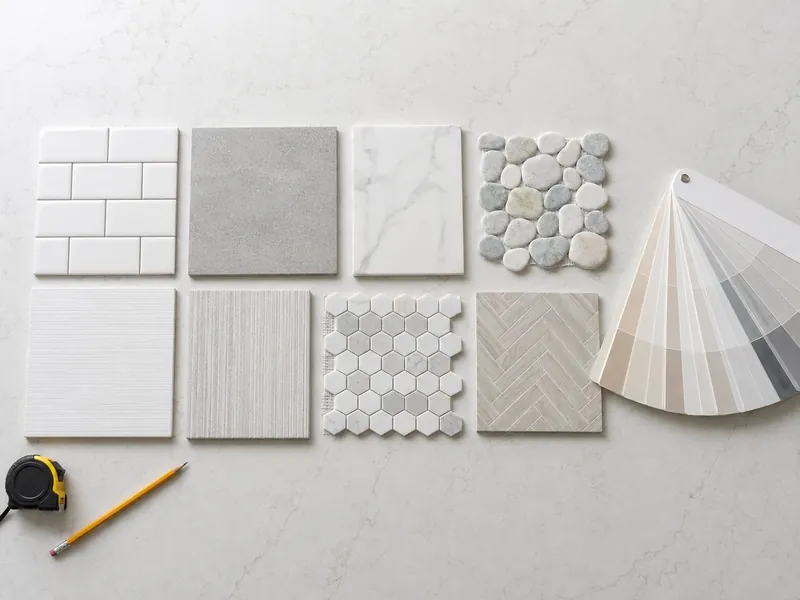
Color and pattern shape the appearance of a custom tile shower, but daily water exposure determines how well the finished surfaces hold up. We select the surface materials for water exposure before considering those design choices. Porcelain tile, epoxy grout, and a silicone movement joint can reduce staining, cracking, and upkeep, and we can balance these water-smart choices within your overall project budget.
Porcelain, Ceramic & Natural Stone
Your shower floor and walls place different demands on tile, so the right material depends partly on where it will be installed. Porcelain tile is fired into a dense body that absorbs very little water, making it our standard choice for a tiled shower installation. Ceramic tile is softer and more absorbent, but it performs well on shower walls when properly installed. Natural stone tile gives your shower genuine variation in color and texture, although its porous surface requires regular resealing. The care guidance for the finished shower provides the schedule.
Underfoot, two-inch mosaic floor tile creates more grout joints for added grip and readily follows the floor pitch. We reserve large-format tile mainly for walls, except on floors built with a linear drain and single-plane pitch.
Cement Grout, Epoxy Grout & Where Silicone Goes Instead
Your grout choice affects both the initial price and the maintenance the shower will need over the next few years. Cement grout is the standard, lower-cost option for grout lines, but its porous surface needs periodic sealing. Epoxy grout costs more and requires an experienced installer because it sets quickly, yet it resists stains and mold without later sealing. When comparing a quote for your shower, ask which grout it includes so you understand the maintenance difference.
Because wall-to-wall corners and the plane change at the pan shift slightly during use, rigid grout placed at those intersections is likely to crack. We use a flexible silicone movement joint wherever two planes meet so the joint can accommodate that movement.
Shower Valves, Showerheads & Fixtures Worth Upgrading
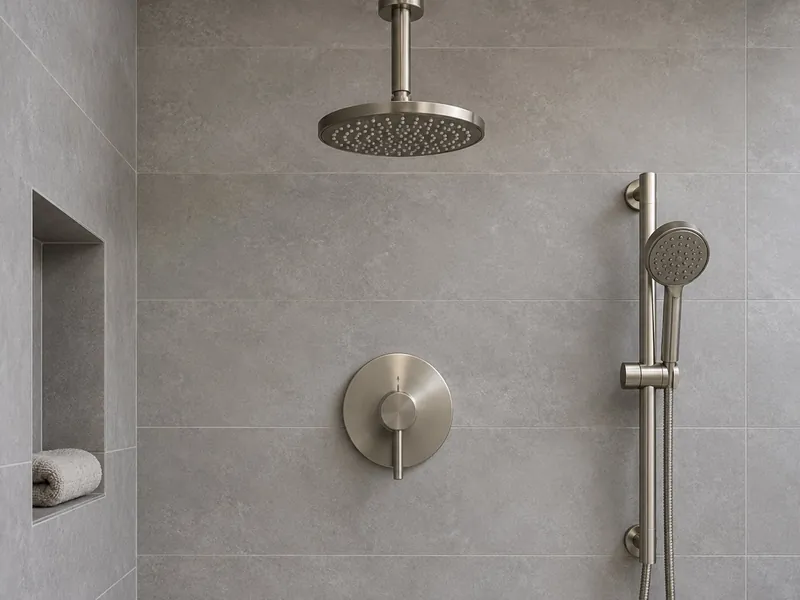
Replacing a shower valve after the project is finished means opening the tile again, so the valve concealed inside the wall is worth buying well while the wall is already open. Known as the rough-in valve, it can outlast two or three trim kits. The visible showerhead and fixtures can then change as your preferences do.
Thermostatic & Pressure-Balancing Valves
A comfortable shower depends on keeping the water temperature steady, especially when several people share the bathroom. On new shower work, code requires anti-scald protection, which can be provided by either a pressure-balancing valve or a thermostatic valve. We field-adjust the valve so the delivered water temperature cannot exceed 120 degrees Fahrenheit.
A thermostatic valve adds comfort and control by letting you set the temperature separately from the water volume and leave that setting in place between showers. The set temperature removes much of the repeated morning adjustment. One thermostatic valve can also supply several outlets through individual volume controls and a diverter, which routes water among the showerhead, handheld, and body sprays. The trim kit can match the finish and control layout you prefer.
Showerheads, Handhelds & Body Sprays
If you want to reduce water use without giving up a comfortable shower, look for the EPA WaterSense label. A WaterSense-labeled showerhead uses no more than 2.0 gallons per minute, compared with the 2.5 gallons per minute federal standard. EPA estimates that an average family can save about 2,700 gallons each year with WaterSense-labeled showerheads.
The most-requested pairing is a rain head and slide-bar handheld, giving you overhead coverage along with a movable spray. Body sprays change the plumbing calculation because each outlet can draw up to 2.5 gallons per minute. Because several outlets may run together, we size the supply lines and shower valve before you select fixtures. Kohler, Delta, Moen, and American Standard are available locally.
Why Choose Findlay Quality Kitchen & Bathroom Remodeling for a Custom Shower?
The finishes you see can only protect your bathroom when the waterproofing beneath them works as one connected system. Findlay Quality Kitchen & Bathroom Remodeling completes the pan and the flood test before applying the visible finishes, rather than relying on a final caulk line to control water.
- Your custom shower installation stays with our in-house installation crews from demolition through the final walkthrough, without separate phases being handed to subcontractors. Keeping the same crew involved also helps standard fixture and wall-system swaps move quickly.
- When the work is finished, you receive the written workmanship warranty for the completed installation at the final walkthrough. Wall-system products also carry lifetime manufacturer warranties, with the product coverage kept separate from our workmanship terms.
- At local Findlay home centers, you can see and handle name-brand fixture trim before making your selection. Before the order is placed, we confirm that the valve, trim, showerhead, and finish all work together.
- A clear quote helps you understand where the project cost comes from. Our free in-home estimates include line-item pricing for the pan, wall finish, enclosure, plumbing, fixtures, and selected upgrades that affect the quoted scope.
- Older framing, altered plumbing, and uneven shower openings can complicate what initially looks like a straightforward project. We are licensed and insured, and our 15-plus years of kitchen and bathroom work in Hancock County give the crew practical experience with those conditions.
How Custom Shower Costs Break Down in Findlay
Your shower cost depends largely on the materials you choose and how much the existing layout needs to change. Most tub or shower replacements cost $4,000 to $12,000. One-day wall-system replacements usually fall in the lower half of that range, while fully tiled custom work tends toward the upper end. Moving walls, the drain, or the valve can raise the price. A full tub-to-shower conversion typically runs $8,000 to $15,000 and is its own service.
Several cost factors determine where a shower remodeling project falls within those ranges, including the choices and layout changes below.
- The wall finish, including grout-free panels or tile set on site
- The glass grade, with a frameless enclosure costing more than framed glass
- Drain and valve relocation when the plumbing layout changes
- The shower footprint and any enlargement beyond the existing opening
- The fixture and trim grade for the valve, showerhead, and controls
- Added niches, a built-in bench, or steam equipment
Financing options are available for qualified projects. To turn the published range into a number for your shower, request a free estimate at (419) 701-5397 based on the materials and work you choose.
From Estimate to First Shower: How Findlay Quality Runs the Job
Findlay Quality Kitchen & Bathroom Remodeling organizes your shower remodel process into six clear steps. A standard replacement that stays within the existing footprint often takes one day, while a fully tiled custom shower installation typically takes one to two weeks. Most projects move through every step.
-
A Free In-Home Estimate & Measure
Your shower needs to fit the opening and work the way you expect. We measure the space, locate the drain and valve, and discuss how you want the finished shower to look and function.
-
Picking Tile, Glass & Fixtures You Can Hold
Seeing materials in person helps you compare colors, finishes, and how the fixtures feel. You can handle tile, glass, and trim at Findlay home centers, and we check each selection against the field measurements before ordering.
-
A Firm Quote You Can Check
You should be able to see what you are paying for before work begins. Your quote uses line-item pricing to list the approved work and selections separately, with a price for each item. The price changes only when you approve a signed written change order.
-
Permits & Scheduling
Like-for-like swaps usually require no permit, while plumbing moves require municipal permits that we obtain. Once the scope is set, we schedule the work around your household.
-
Demolition, Build & the Flood Test
Remodeling should not spread dust and debris throughout your home. We use sealed dust barriers and clean the work area each evening. Before tile installation, the rough-in inspection and flood test take place.
-
Walkthrough, Warranty & Care Sheet
Before you use the new shower, you have an opportunity to check the completed work and learn the controls. During the final walkthrough, we complete the punch list, demonstrate the valve, and give you the care sheet and written workmanship warranty.
Upgrades Worth Planning into a Custom Shower
Opening the walls and floor gives you an opportunity to prepare for shower upgrades before the finished surfaces make those changes more expensive. Planning ahead also leaves room for features you may want later, even if you do not install them during the current shower renovation.
- If you want a steam shower, the entire stall, including the ceiling, must be sealed against vapor before the finishes go in. Steam-equipment manufacturers cite about two gallons of water per 20-minute steam shower session.
- A lighted niche or oversized niche needs to be positioned within the wall framing before waterproofing and tile installation begin.
- For a built-in bench, the framing and pan details must be set before waterproofing goes in. Adding one after demolition has begun becomes a different and more costly job.
- Because a heated floor sits beneath the tile, it must be included before the finished surface is installed.
- Blocking installed behind the walls provides solid support if you decide to add grab bars later.
- A second valve rough-in makes it easier to add a handheld later without reopening the finished wall.
Caring for a New Custom Shower
A few minutes of regular shower maintenance can prevent slow, avoidable wear and help you avoid grout repair later. Your new shower needs regular cleaning and calendar checks, including timely silicone joint resealing and stone sealer applications where needed.
The Resealing Schedule
Small openings or separation at a sealed joint are signs that water can get where it should not. Refresh silicone sealant at corners, curb transitions, and changes of plane every 1 to 2 years, and inspect each joint between scheduled resealing visits so you can act if it opens or pulls away. Natural stone usually needs stone sealer about once a year, although the product instructions and water absorption can indicate an earlier application. Solid-surface panels do not require sealing. The care sheet provided at your walkthrough records the dates.
Habits That Keep Grout & Glass Clean
Soap residue and hard-water film are easier to manage before they build up on the glass, tile, and enclosure hardware. Make one quick daily pass with a squeegee over the glass and tile, run the bath fan after each shower, and wipe down the shower door track, bottom sweep, and enclosure hardware. For grout cleaning, use a pH-neutral cleaner on natural stone and grout because acid-based products can etch the surface and strip away stone sealer.
Custom Shower Remodeling Across Hancock County & Northwest and North-Central Ohio
The age of your Findlay home can shape what a shower renovation uncovers once work begins. Findlay’s 1880s gas- and oil-boom housing stock stands alongside current subdivisions, which means we work with nearly every generation of shower construction. Older homes often have a mud-set mortar shower, bathrooms remodeled in the eighties and nineties may have a thin plastic shower surround, and new subdivisions commonly contain builder-grade shower units.
During humid Ohio summers, bathrooms can stay damp longer, allowing moisture to reach materials behind the finish through cracked grout and open joints. Whatever generation your shower belongs to, we begin by identifying what can remain and what must be rebuilt.
Where Findlay Quality Kitchen & Bathroom Remodeling Builds Custom Showers
Findlay Quality Kitchen & Bathroom Remodeling provides custom shower remodeling throughout its service areas in Hancock County and across Northwest and North-Central Ohio, including the communities listed here.
- Findlay, OH
- Marion, OH
- Fremont, OH
- Tiffin, OH
- Fostoria, OH
- Bucyrus, OH
- Galion, OH
- Bellevue, OH
- Willard, OH
- Upper Sandusky, OH
- Kenton, OH
- Carey, OH
- Clyde, OH
- Crestline, OH
- Attica, OH
- Arcadia, OH
- Arlington, OH
- Forest, OH
- Bloomville, OH
- Sycamore, OH
- New Washington, OH

Shower Remodel Questions from Findlay Homeowners
Planning shower remodeling means making decisions that can change the scope, price, and timing of your project. These answers cover the questions Findlay homeowners ask most often.
What's Included in a One-Day Shower Install?
For a standard shower installation that keeps your existing footprint and drain location, we haul away the old unit, set a new base, seal the wall panels to it, and replace the valve trim and showerhead, often within one day.
How Much Does a Custom Shower Remodel Cost in Findlay?
A typical tub or shower replacement falls in the $4,000 to $12,000 range. The glass grade, any relocated plumbing, and the amount of tile work have the greatest effect on your final price.
How Long Does a Fully Tiled Custom Shower Take?
The shower remodel timeline for a fully tiled shower is typically one to two weeks, including demolition, the pan build, a day-long flood test, tile installation, and grout. Once the tile is complete, we measure for the glass, and the enclosure usually arrives about a week later.
What's the Hardest Part of a Shower Remodel?
The most demanding part of a shower remodel is hidden beneath the finished tile. The waterproofing requires the most precision, especially at the shower pan, its slope, and the transitions between the pan and walls. If demolition exposes framing damaged by an old leak, we photograph the damage and price the repair before continuing.
What Mistakes Should I Avoid in a Shower Remodel?
Common mistakes include tiling over old tile, skipping the flood test, and ordering a stock door before the finished opening exists. Corners need silicone movement joints rather than rigid grout, and your selected trim must match the rough-in valve behind the wall.
Will I Need to Hire a Plumber Separately?
No, you will not need to hire a plumber separately. Our in-house crew handles the drain and valve rough-in within your quoted price. When plumbing moves, we obtain the permit and arrange the inspection, and new shower work includes the anti-scald valve required by code.
Can You Make My Existing Shower Bigger?
If your existing shower feels cramped, shower enlargement is usually possible by borrowing space from a tub alcove or closet or by extending the curb farther into the room. The drain run, rather than the surrounding walls, typically sets the practical limit on your new footprint.
Get Your New Shower Started with Findlay Quality
When you are ready to turn your custom shower ideas into a clear plan, Findlay Quality Kitchen & Bathroom Remodeling will arrange a free in-home estimate in Findlay and surrounding communities. Tell us about the space, materials, and features you have in mind by calling (419) 701-5397 or using the quote form. We will help you plan the shower you want, with a watertight foundation guiding every finish choice.